
A hidden water leak inside a concrete slab or behind a finished wall used to mean one thing: demolition first, answers second. A plumber would make an educated guess at the leak location, cut open the floor or drywall, and adjust from there — sometimes through two or three exploratory openings before finding the actual failure point. That process routinely added $2,000 to $4,000 in tile work, drywall repair, and labor to a job that didn't need any of it.
Electronic leak detection changes that sequence entirely. By combining acoustic listening equipment, thermal imaging, and pressure-isolation testing, we can locate most leaks to within 12–18 inches before any cutting begins. The leak gets fixed through a single, targeted opening — not a grid of exploratory cuts across your living room floor.
This guide explains how each detection method works, when we use them in combination, and what the process looks like on a real South Bay property — whether that's a 1950s slab tract home in Hawthorne, a coastal bungalow in Hermosa Beach's Sand Section, or a mid-century house in Gardena's Moneta neighborhood.
Why hidden leaks are hard to find without the right equipment
Water under pressure follows the path of least resistance. A pinhole in a copper supply line buried in a concrete slab doesn't necessarily surface directly above the breach — it can travel six feet along the underside of the slab before wicking up through a grout line or appearing as a damp spot on baseboard trim. The visible symptom and the actual leak are often in different rooms.
This displacement effect is why visual inspection alone almost never works. A wet spot on a living room floor might trace back to a failure point under the hallway. A homeowner in Old Torrance watched a water stain grow on their garage drywall for two weeks before we located the actual leak — a copper elbow failure under the master bathroom, 14 feet away.
Slab construction also means that even a small, slow leak can go undetected on your water bill for months. A 1/32-inch pinhole at 60 PSI loses roughly 170 gallons per day. At LADWP or California Water Service rates, that's a detectable but not dramatic spike — easy to attribute to a running toilet or irrigation system before the real cause gets investigated.
Acoustic detection: listening to what concrete hides
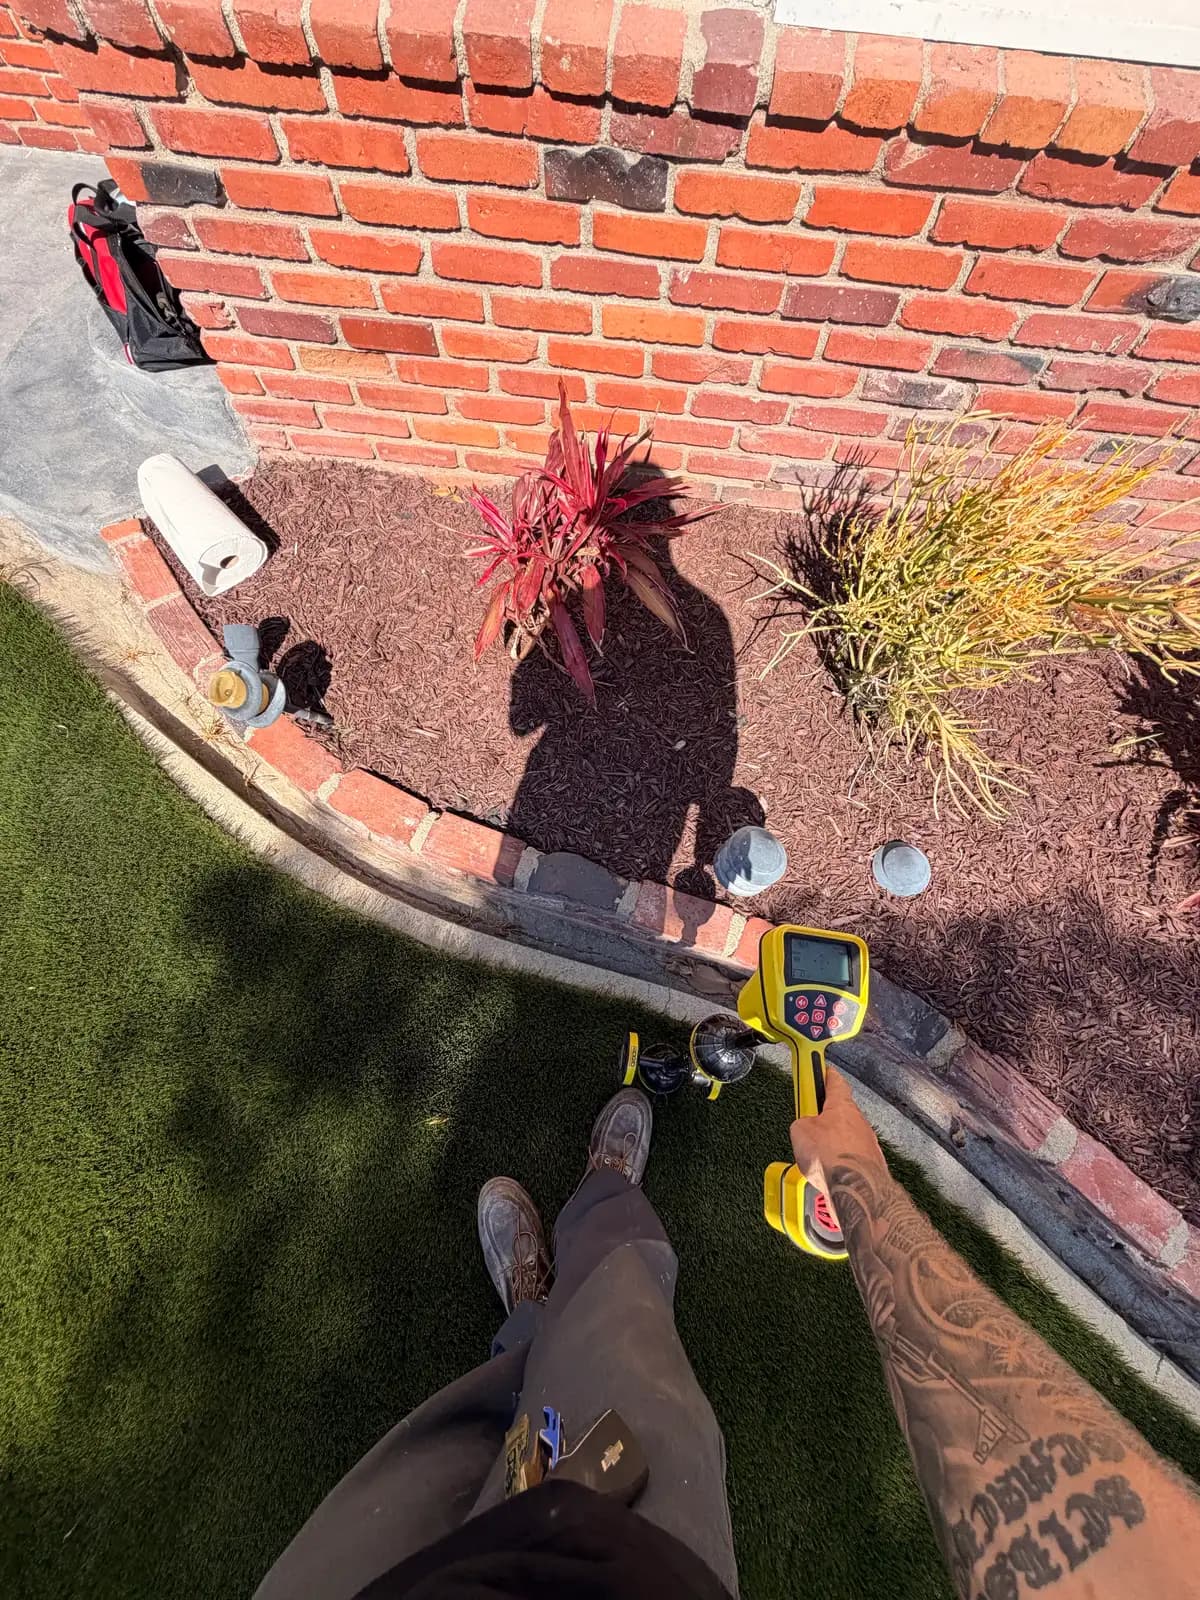
Pressurized water escaping through a small breach creates a consistent, high-frequency sound as it exits the pipe and contacts the surrounding material — concrete, soil, or sand bedding. Acoustic leak detection equipment amplifies and filters that signal across a range of frequencies, allowing a technician to walk a grid pattern on the floor surface and map relative signal intensity at each point.
The physics here matter. A leak under a slab radiates sound outward and upward through the concrete. Signal strength peaks directly above the breach and attenuates as you move away from it. By recording intensity readings at 12-inch intervals across a suspect area, we can identify the highest-signal zone and confirm the leak location before touching the floor.
Modern acoustic sensors are sensitive enough to distinguish pipe noise from ambient vibration — HVAC blowers, traffic, even neighboring appliances. That discrimination matters in dense South Bay neighborhoods where adjoining structures and foot traffic create constant background noise. The work requires the supply line to remain pressurized during the test, which is standard practice since the leak has to be actively producing sound to be detected.
Thermal imaging: reading temperature differentials through finished surfaces
Thermal cameras detect infrared radiation — not visible light — and display temperature gradients across a surface as color variation. A water leak under a slab or inside a wall creates a localized temperature anomaly: cooler than surrounding material on a hot day, or warmer if the leaking line carries hot water. Either way, the anomaly is measurable from the surface.
Thermal imaging works best as a complement to acoustic detection, not a standalone method. Concrete is a thermal mass — it absorbs and releases heat slowly, which means a temperature anomaly from a slow leak may take hours to manifest at floor level. Faster leaks on hot-water supply lines typically produce clearer thermal signatures. For cold-water supply leaks or very slow bleeds, acoustic equipment usually outperforms thermal.
Where thermal imaging earns its place is in wall cavities and ceiling spaces — situations where running acoustic equipment is impractical. A [leak detection](/services/trenchless/leak-detection) inspection on a two-story property in Palos Verdes Estates, for example, frequently involves thermal scanning of first-floor ceilings to identify whether a second-floor supply line is leaking into the cavity below before we open drywall.
Pressure isolation: narrowing down which line and which zone
Before acoustic or thermal work begins, pressure isolation testing establishes which line is leaking and where in the system the problem is located. The process works by isolating sections of the plumbing system using shutoff valves, then monitoring pressure decay on each isolated segment with a calibrated gauge.
A segment that holds pressure is intact. A segment that drops pressure over a set interval — typically 15 to 30 minutes — contains the leak. By methodically isolating cold supply, hot supply, and individual branch circuits, we can eliminate large portions of the system before beginning surface-level detection. This step alone can cut acoustic scanning time by 50 percent on a 1,500-square-foot home.
Pressure isolation is also how we differentiate a slab leak from a leak in a wall cavity or underground supply main. Each scenario has a different repair approach, and misidentifying the source means deploying the wrong solution. On [Torrance leak detection](/service-areas/torrance/leak-detection) calls, we routinely encounter homes where a previous plumber opened the slab based on a water bill spike alone — without isolating the water main first — only to find no leak under the floor at all.
How the three methods work together on a real job
A standard electronic leak detection sequence starts with pressure isolation to identify the affected line and zone. Once we know we're dealing with a hot-water slab leak, for instance, the acoustic scan focuses on the known path of that line through the slab — reducing the scanning area from an entire floor plan to a corridor 4–6 feet wide.
Thermal imaging runs concurrently on any exposed surfaces in the suspect zone — baseboards, floor transitions, nearby wall sections. If thermal confirms a temperature anomaly that overlaps with the acoustic high-signal zone, the leak location is considered confirmed. We mark the floor and document the coordinates relative to fixed reference points before any equipment is put away.
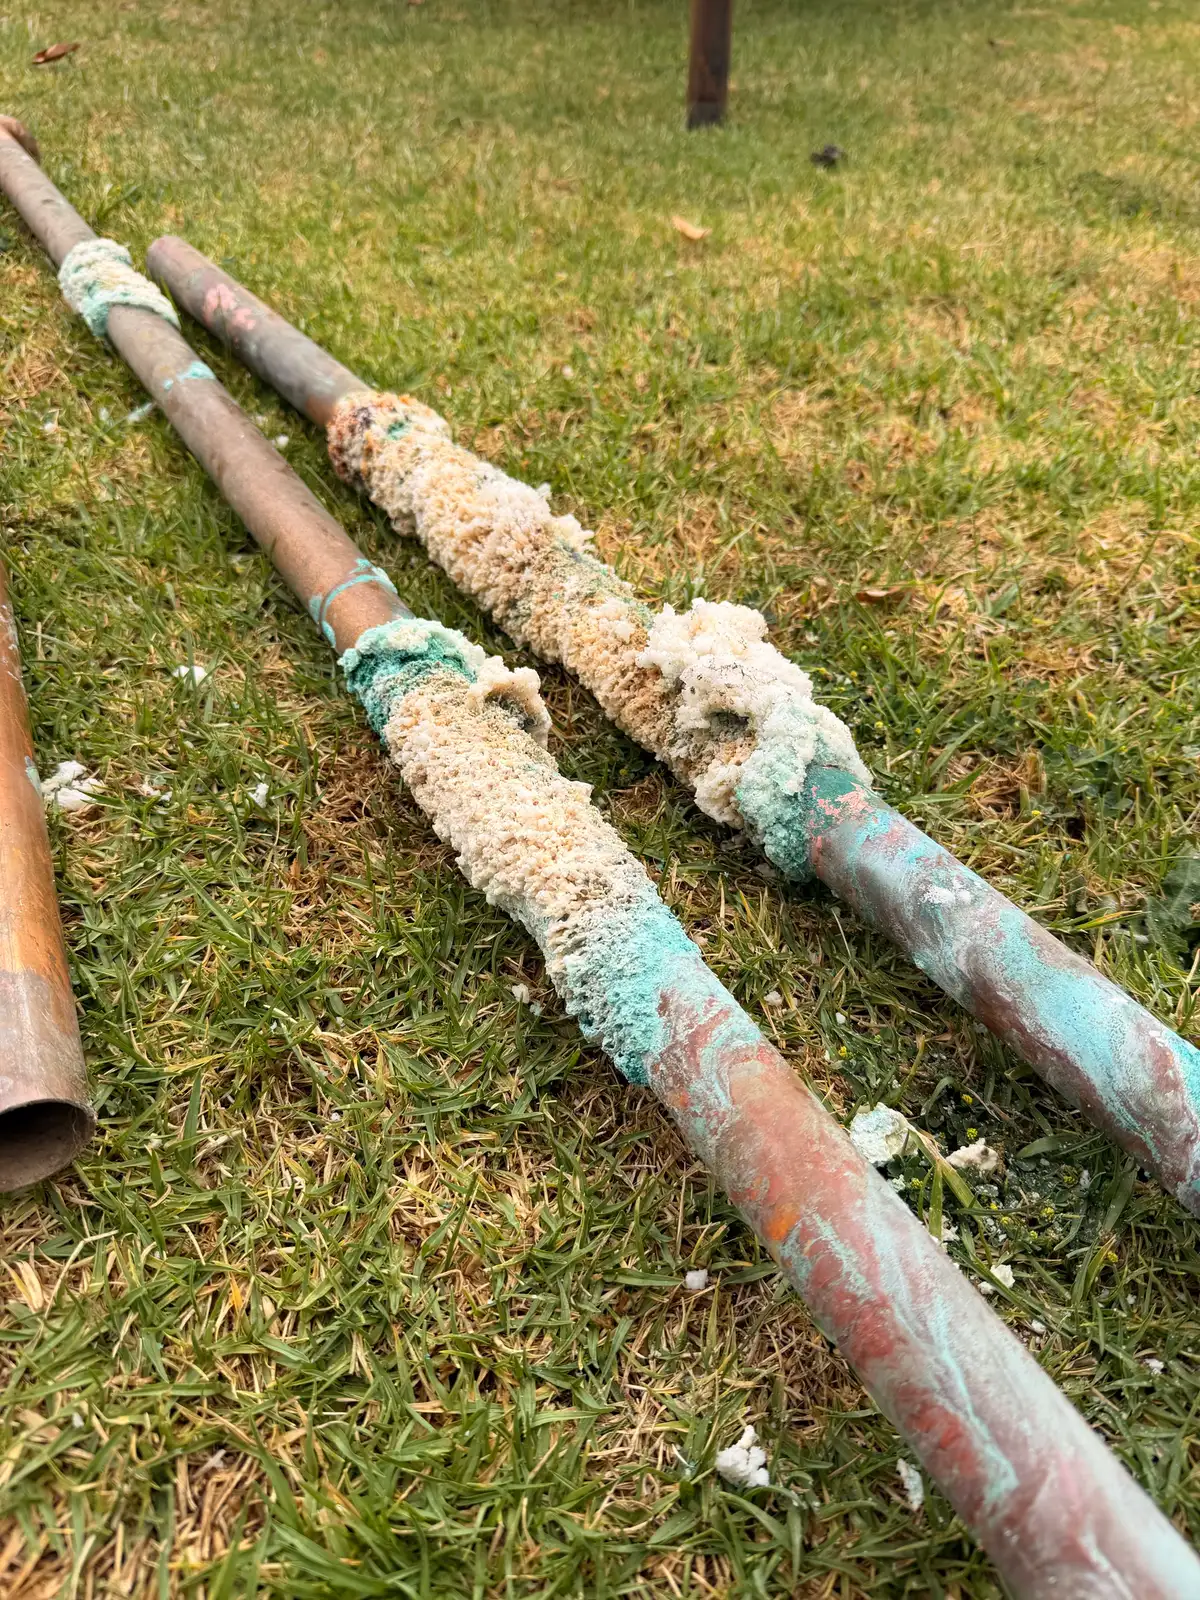
The single access cut goes in after that documentation is complete. On a recent job in Gardena's Westside, the acoustic-thermal overlap produced a 14-inch target window. The actual pipe failure — a stress fracture in a copper elbow — was centered 9 inches from the acoustic peak. One floor cut, one repair, one patch. Total tile disturbance: less than two square feet.
What electronic detection doesn't fix — and when you need more
Electronic leak detection locates leaks precisely. It doesn't determine what caused them or whether the rest of the system is at similar risk. A single copper pipe failure in a 1960s Hawthorne home with original galvanized supply is often a signal that the broader plumbing infrastructure is at end-of-life — not an isolated event. Fixing one leak accurately is the right first move, but a broader evaluation should follow.
Detection accuracy also depends on variables outside the equipment: ambient noise levels, slab thickness, soil saturation, and pipe depth all affect signal quality. A slab leak under a pool equipment pad or adjacent to a running water softener requires more time and more crosscheck passes than a leak under an open living room floor. We'll tell you when conditions are limiting confidence, and we won't mark a floor for cutting until the evidence is solid.
For properties with active [slab leak history or suspected pipe corrosion](/services/trenchless/camera-inspection), a camera inspection of the sewer lateral is often worth scheduling at the same time. Supply-side and drain-side failures tend to cluster by pipe material age — the same era that gave you a copper supply leak may also have clay tile or cast iron drain lines that need evaluation.
What to do next
If you're seeing unexplained water bills, damp flooring, warm spots on a slab, or the sound of running water when all fixtures are off, electronic leak detection is the right first step — not demolition. Mainline No-Dig Trenchless Plumbing is a Licensed C-36 contractor (#901735) and we carry the acoustic, thermal, and pressure-testing equipment to run a full detection sequence on any South Bay property.
We dispatch 24/7 from our Lomita headquarters with a 60-minute target response for emergency calls, and we don't charge overtime fees. For non-emergency leak detection appointments across any of our 16 South Bay cities, call (310) 808-7343 or use the contact form to schedule a time that works for your property.
Tags
Related Services